Hey guys! I have some tips that I'm super excited to share with you guys- now I absolutely love photography and over quite a few years of having iPhones, I thought I'd share some of the tips I've learnt. I take most of my blog photos with my iPhone but some of these are taken with my digital camera for a better explanation of the tips as I couldn't find my DSLR... I hope this helps and if you have any other good tips, leave me a comment down below!
G x
G x
1. Play around with the perspective
 |  |
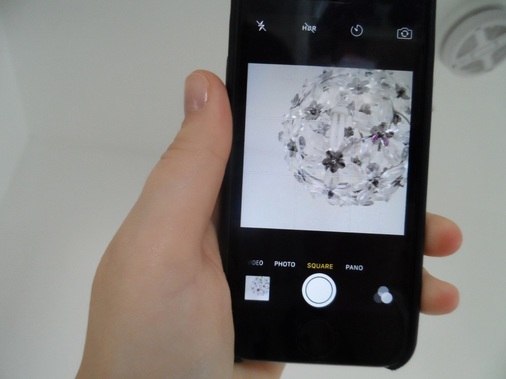
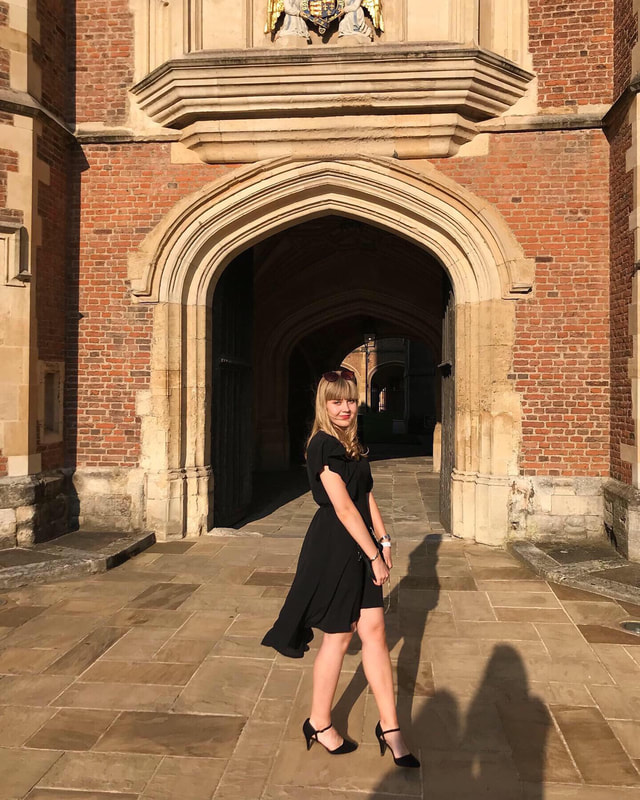
I'm pretty sure we all know this one, but although I knew it, I never started to use this piece of advice until last year! I find that for full body photos, squatting down and taking them from a low angle can look amazing. Whereas for food photos for all you bloggers out here, taking them from up high (so perhaps going on your tip-toes or standing on a chair), can look really good too! This is definitely a tip worth taking into consideration, I know I've only taken a photo of a lamp but I done a few different perspectives of it to show you how much of a difference it can make.
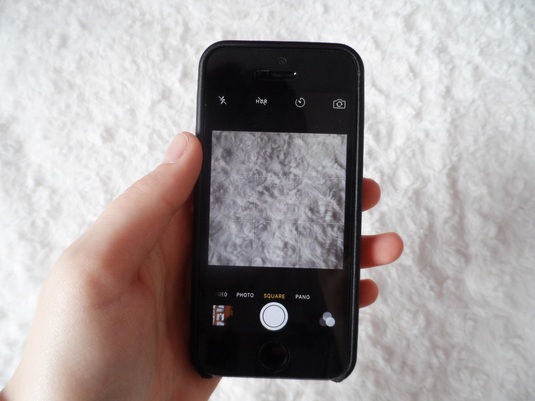
2. Make sure your photos are always focused in properly
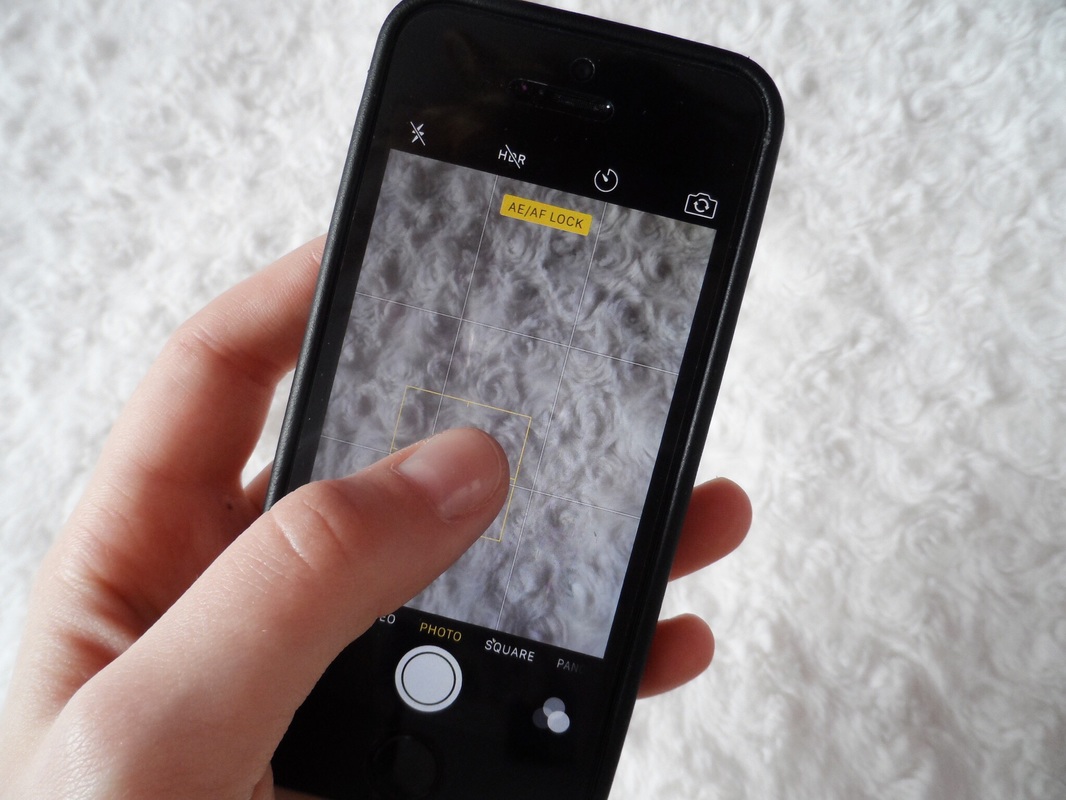
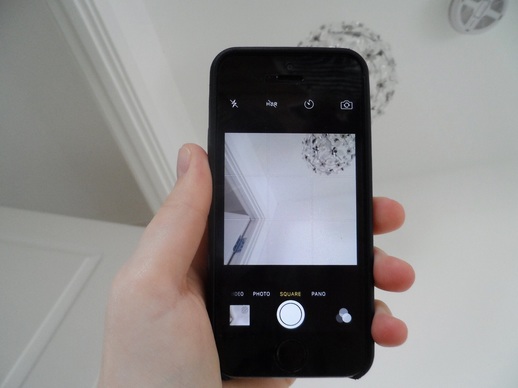
I mean this is a no-brainer, isn't it really? I know it's almost worthless mentioning this, but I do have a little tip for you if you're struggling with it. Try holding down the part of the photo that you want to focus in for, for a few seconds. You should have a yellow box around it and it should say AE/AF Lock. This will lock in focus and the exposure, but if you're not happy with the exposure, there's something for you in the next tip!
3. Play around with the exposure
Is the photo too bright for your liking? No problem! Before you take the photo, you can tap areas on the screen and there should be a little yellow box with a sun pictured next to it. This will adjust the exposure and you can brighten and darken up your photos with this! Want to know an even cooler hack? You can use the little sun as a slider, so you can slide up if you want the image to be brighter and slide down if you want to darken it up. Cool, right?
4. Try and take photos in natural sunlight, when its at its best
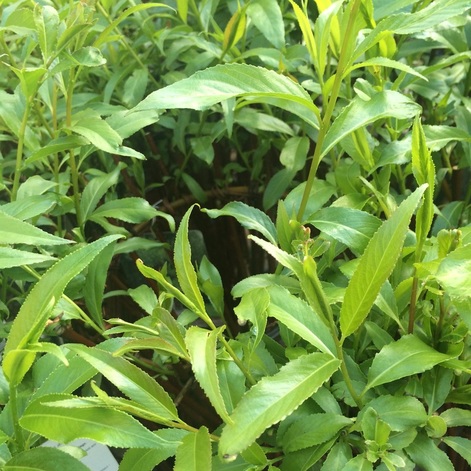
This is one that is key for all you bloggers out there, no matter if you're taking photos of beauty products or your outfit ideas- you want to take it with the best possible lighting. Taking advantage of the lighting will make your photos brighter and give them more life. This is a little photo I took in Homebase, because why not?
5. Avoid the zoom on your iPhone
If you can, do avoid zooming in with your iPhone. The zoom on the iPhone isn't the best and will make your photos a lot more blurry and definitely worsen the quality.
6. Experiment with the flash

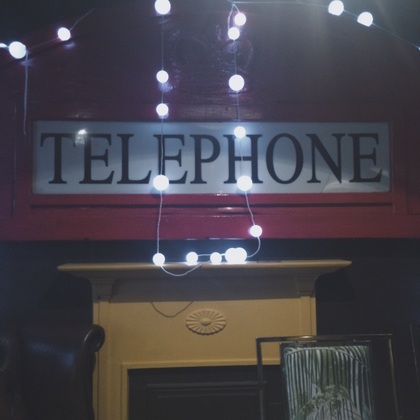
Don't be afraid to experiment with the flash button, sometimes... I even take photos with the flash when the natural sunlight is good like this one of my display board. I tend to use the flash for selfies and for some of my Instagram 'up-close' shots, though not for landscape photos.
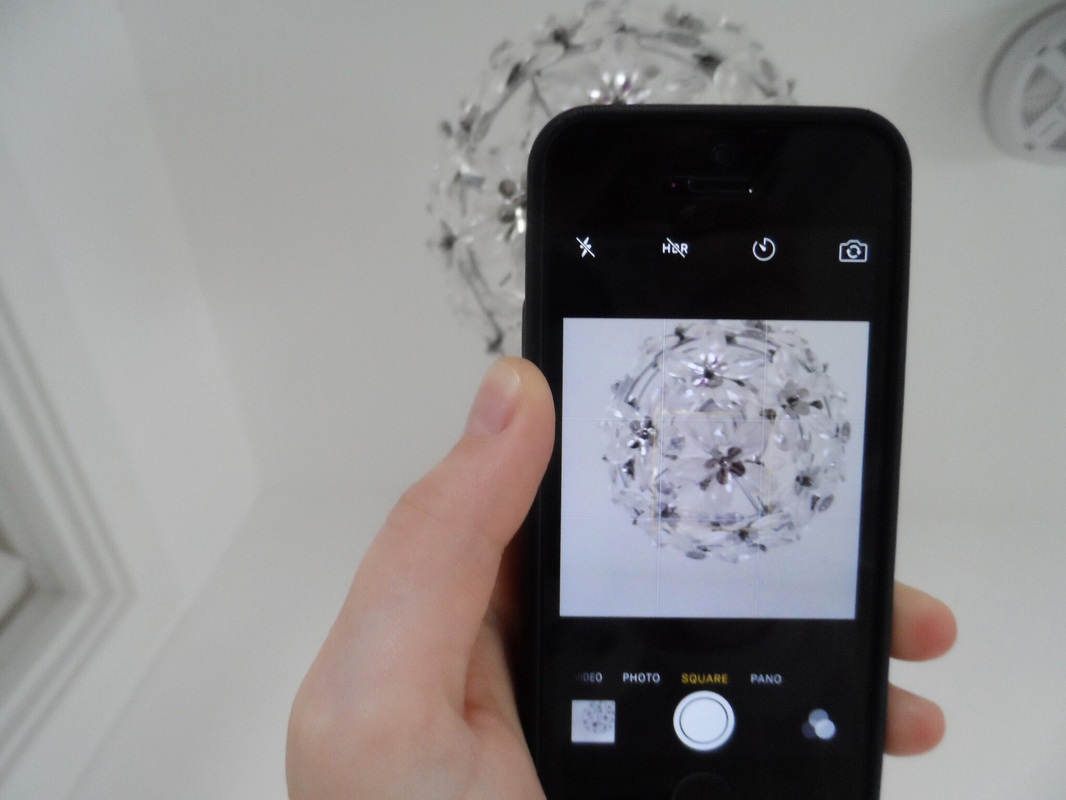
7. Turn the grid on
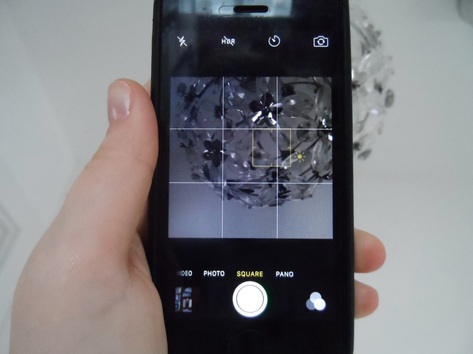
You can turn the grid on in settings, and then in photo and camera. So there's a simple photography trick that's called the 'Rule of Thirds' and this means that the image is split into 9 small, equal squares and that the main image of focus (so let's take a flower, for example), should be placed on the intersections of a vertical and horizontal line. Now... I don't always follow this, clearly but it can help. Before, I used to find the grid super annoying but now, I know there's a reason why it's there in the settings!
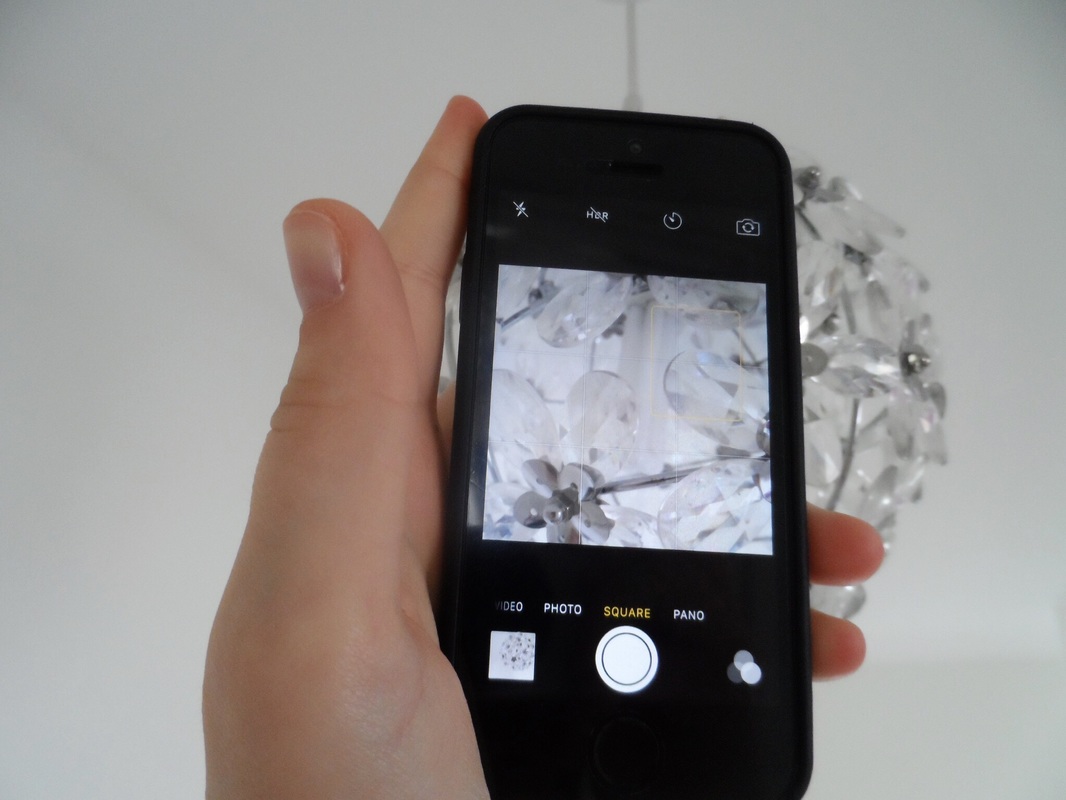
This isn't a good example really is it?
This isn't a good example really is it?
8. Edit, Edit & Edit Some More!
Now, this isn't to do with the actual taking of photos- but editing can really make the biggest difference. This totally isn't sponsored, but VSCO Cam is by far the best app I think I know for editing. The app is free but some of the filters are paid, and I'm shamelessly admitting that I've bought most of them. My favourite filters are A8, A9, P4 (all paid) and HB2 (free)!